
For the Centerstage season, we wanted to take our robot to the next level in terms of materials used and design techniques. When we saw the game, we knew we wanted to have both a small robot and a pass-through system to rapidly cycle between the human player station and the backdrop. We opted to use mecanum drive with a custom drivetrain after success using it from last season.
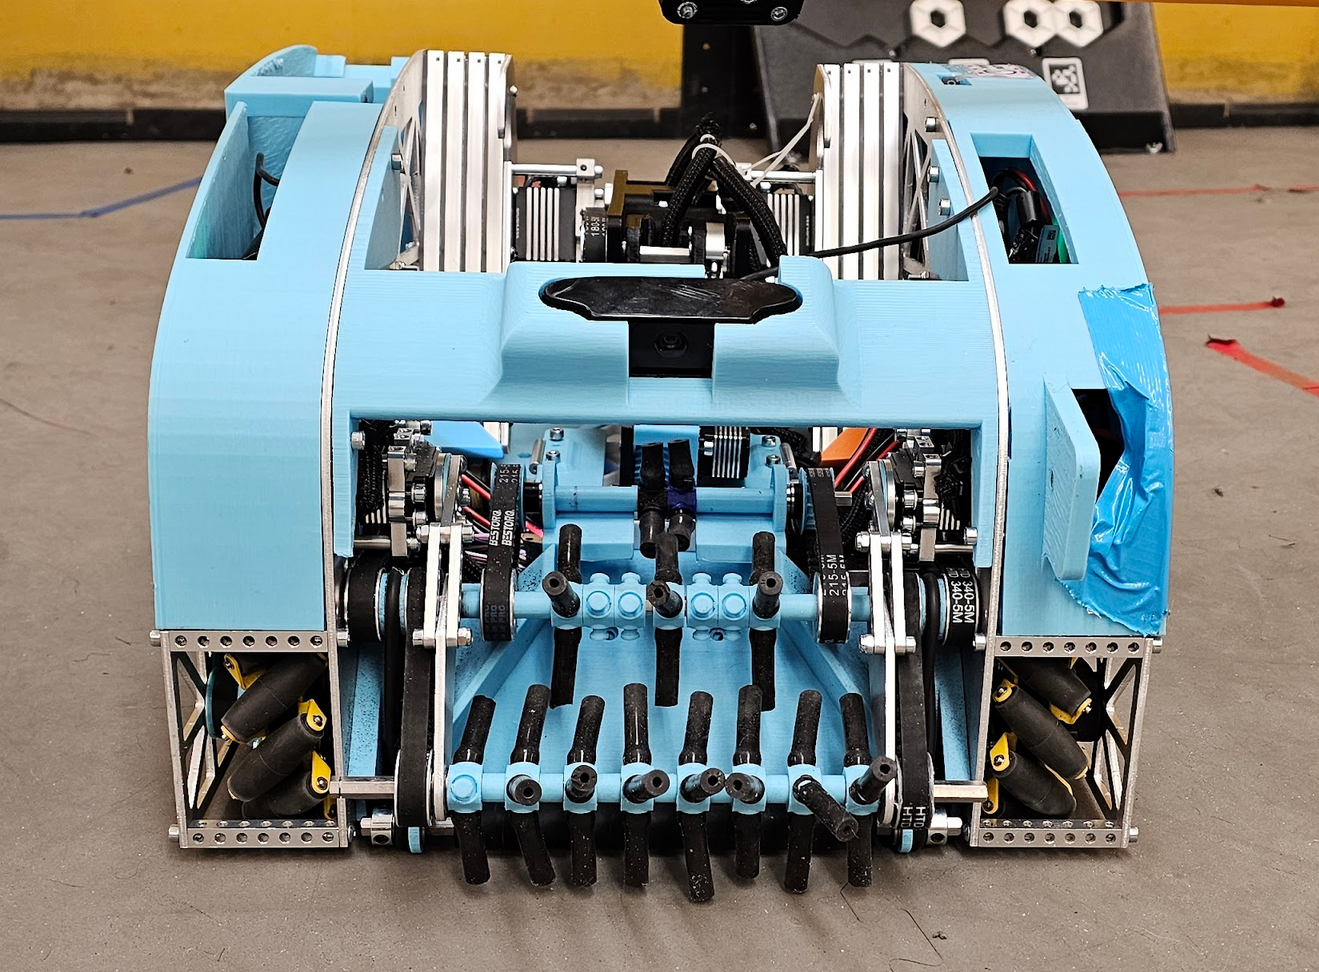
Chasis:
Early on, we decided to make a small chassis so we could easily maneuver around the field. We designed and sent out custom drive train plates to Fabworks for them to cut. This gave us a lot of freedom with our design and allowed our indirect mecanum drive to be supported on both sides for structural integrity and drive consistency.
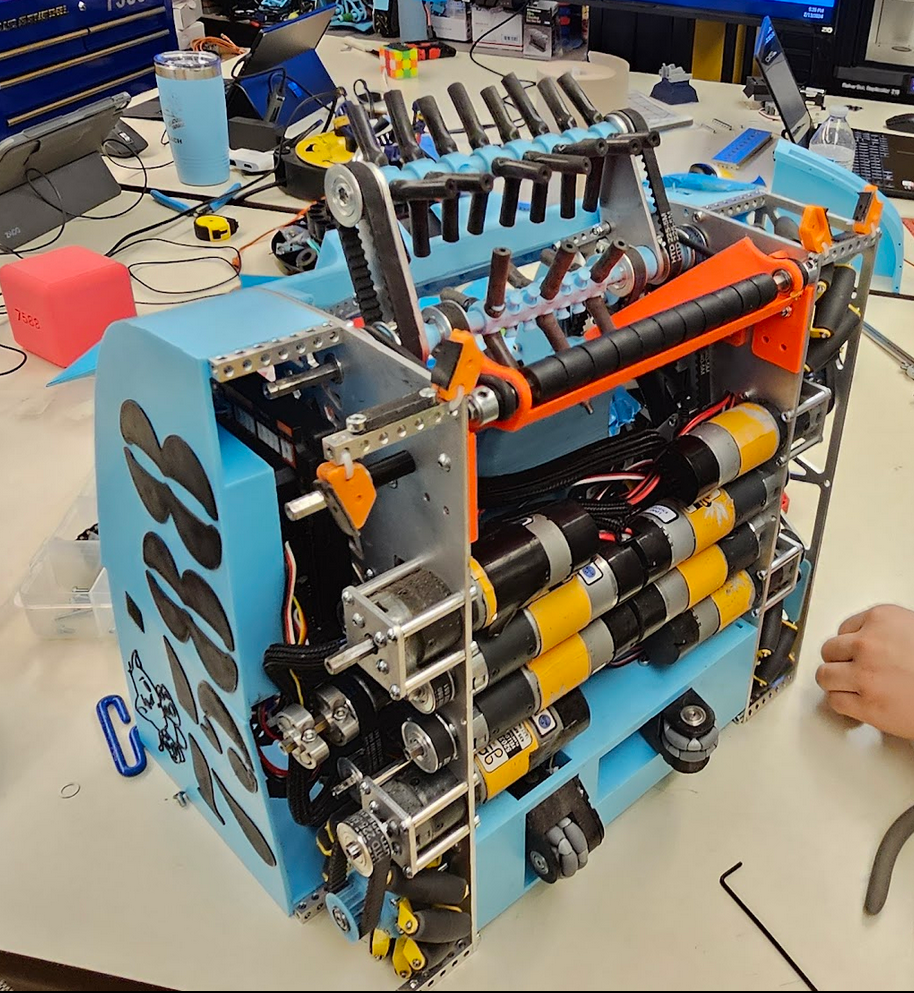
Intake:
We immediately knew we wanted an active intake and not just a grabber so that we could own it as soon as we touched it. This would then store the pixels for the grabber.
Deposit:
We decided to have vertical slides at the same angle of the backdrop and a 3 degree of freedom (3DOF) arm. This allows us a ton of versatility in how we score the pixels and form mosaics.
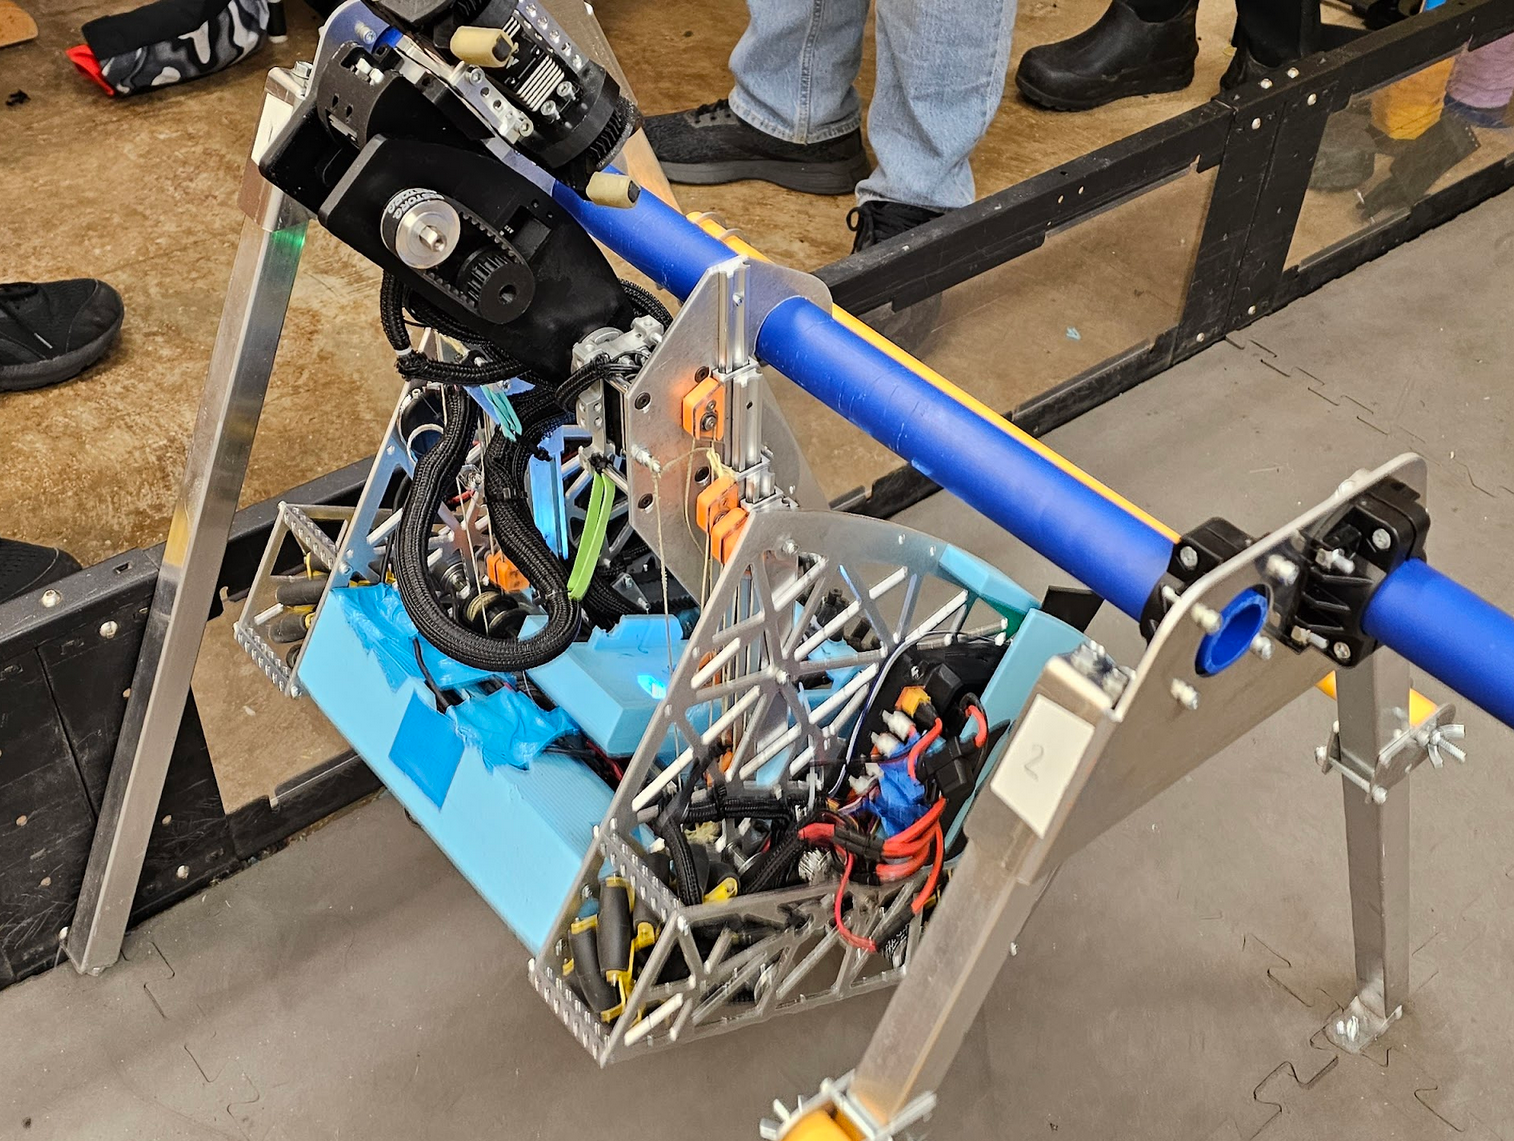
Hanging and Elevator:
This year we set out to have a lift that is both fast and high torque so we can score quickly and suspend our robot on the trusses in endgame. After many iterations, we decided and iterated upon a hook design that accounts for our robots center of gravity.
Grabber:
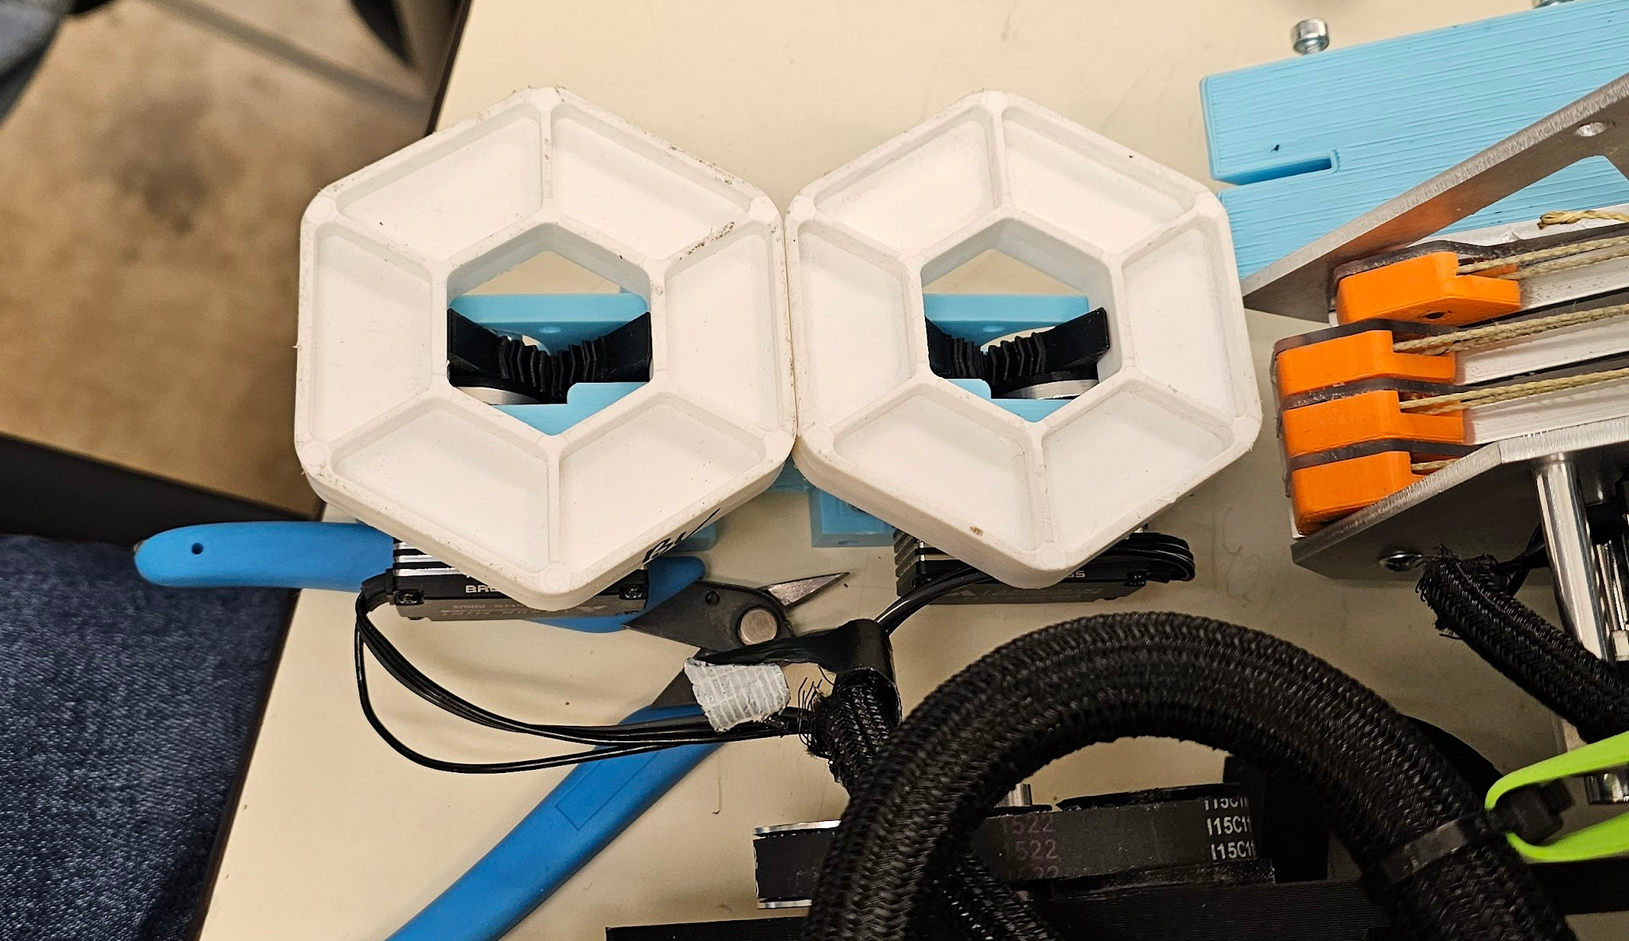
As we were brainstorming for this years game we decided that one of our key design goals was to have as much freedom on our deposit as possible. We figured that this would give us an advantage on mosaic placement and securing a bonus 10 points. Additionally we felt it was important that our outtake mechanism deposited the pixels as soon as we got to the backdrop allowing us to immediately go for another cycle.To meet our aforementioned design requirements we settled on a 3 axis arm with two grabbers that is attached to our elevator. To transfer the pixels from our intake to our deposit we decided for a tray approach as to allow the pixels to rest in the robot as we are moving to the backdrop. We settled on a grabber design that pick the pixels from the inside, rather than grabber the pixel it’s outside.

Drone Launcher:
We originally tried to use a ballista system, inspired by the launch assist on aircraft carriers, but ran into flight issues with our drone design. After struggling with a four-bar design, we moved back to the ballista system, but with a smaller, denser drone.We moved to a spring-loaded design, rear launched design after talking with several other teams with consistent drone launchers.
Autonomous:
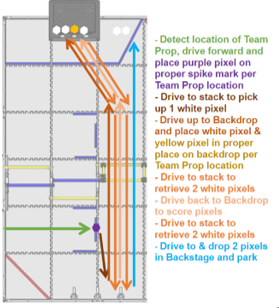
This year we have a command-based code structure. This involves subsystems that have commands that are run by a scheduler when scheduled. This makes complicated arm movements very easy in a single command. After our last tournament, we talked with the #1 auto OPR team in the world to get advice to improve our autonomous. Using their advice, we switched from Roadrunner to a custom pathing system that uses PID controllers on the X, Y, and heading axes. This has proven to be much quicker and more consistent than Roadrunner, the library we used to use, and has led to us cycling an additional two pixels in auto. In past years we have always had trouble with not enough buttons on the two controllers for what we wanted. To increase the number of available buttons, we created controller layers. Each button on each different layer can be assigned to a unique function. These layers are accessible via holding the triggers. The first layer is accessible by holding neither trigger. The second layer is accessible by holding the left trigger. The third layer is accessible by holding the right trigger.
